How to Write an Xactimate Estimate: Create Accurate Restoration Estimates in 7 Steps

Xactimate is the most widely used estimating software in North America for insurance and restoration. If you’re in the restoration business or you’re just getting started, chances are that you’re getting ready to create an estimate within the software.
This is an introductory guide for writing an estimate in Xactimate, whether you’re new to the industry or want a refresher. Xactimate is the most widely used estimating software in North America for insurance and restoration, and it can feel intimidating at first. We’ll familiarize you with the estimate creation process and equip you with everything you’ll need to get started.
What you’ll need before you start writing the estimate
There are a few things you’ll need to have on hand when building the estimate. These include:
- Detailed scope of work: the areas affected by the damage and an understanding of the required repairs or replacements.
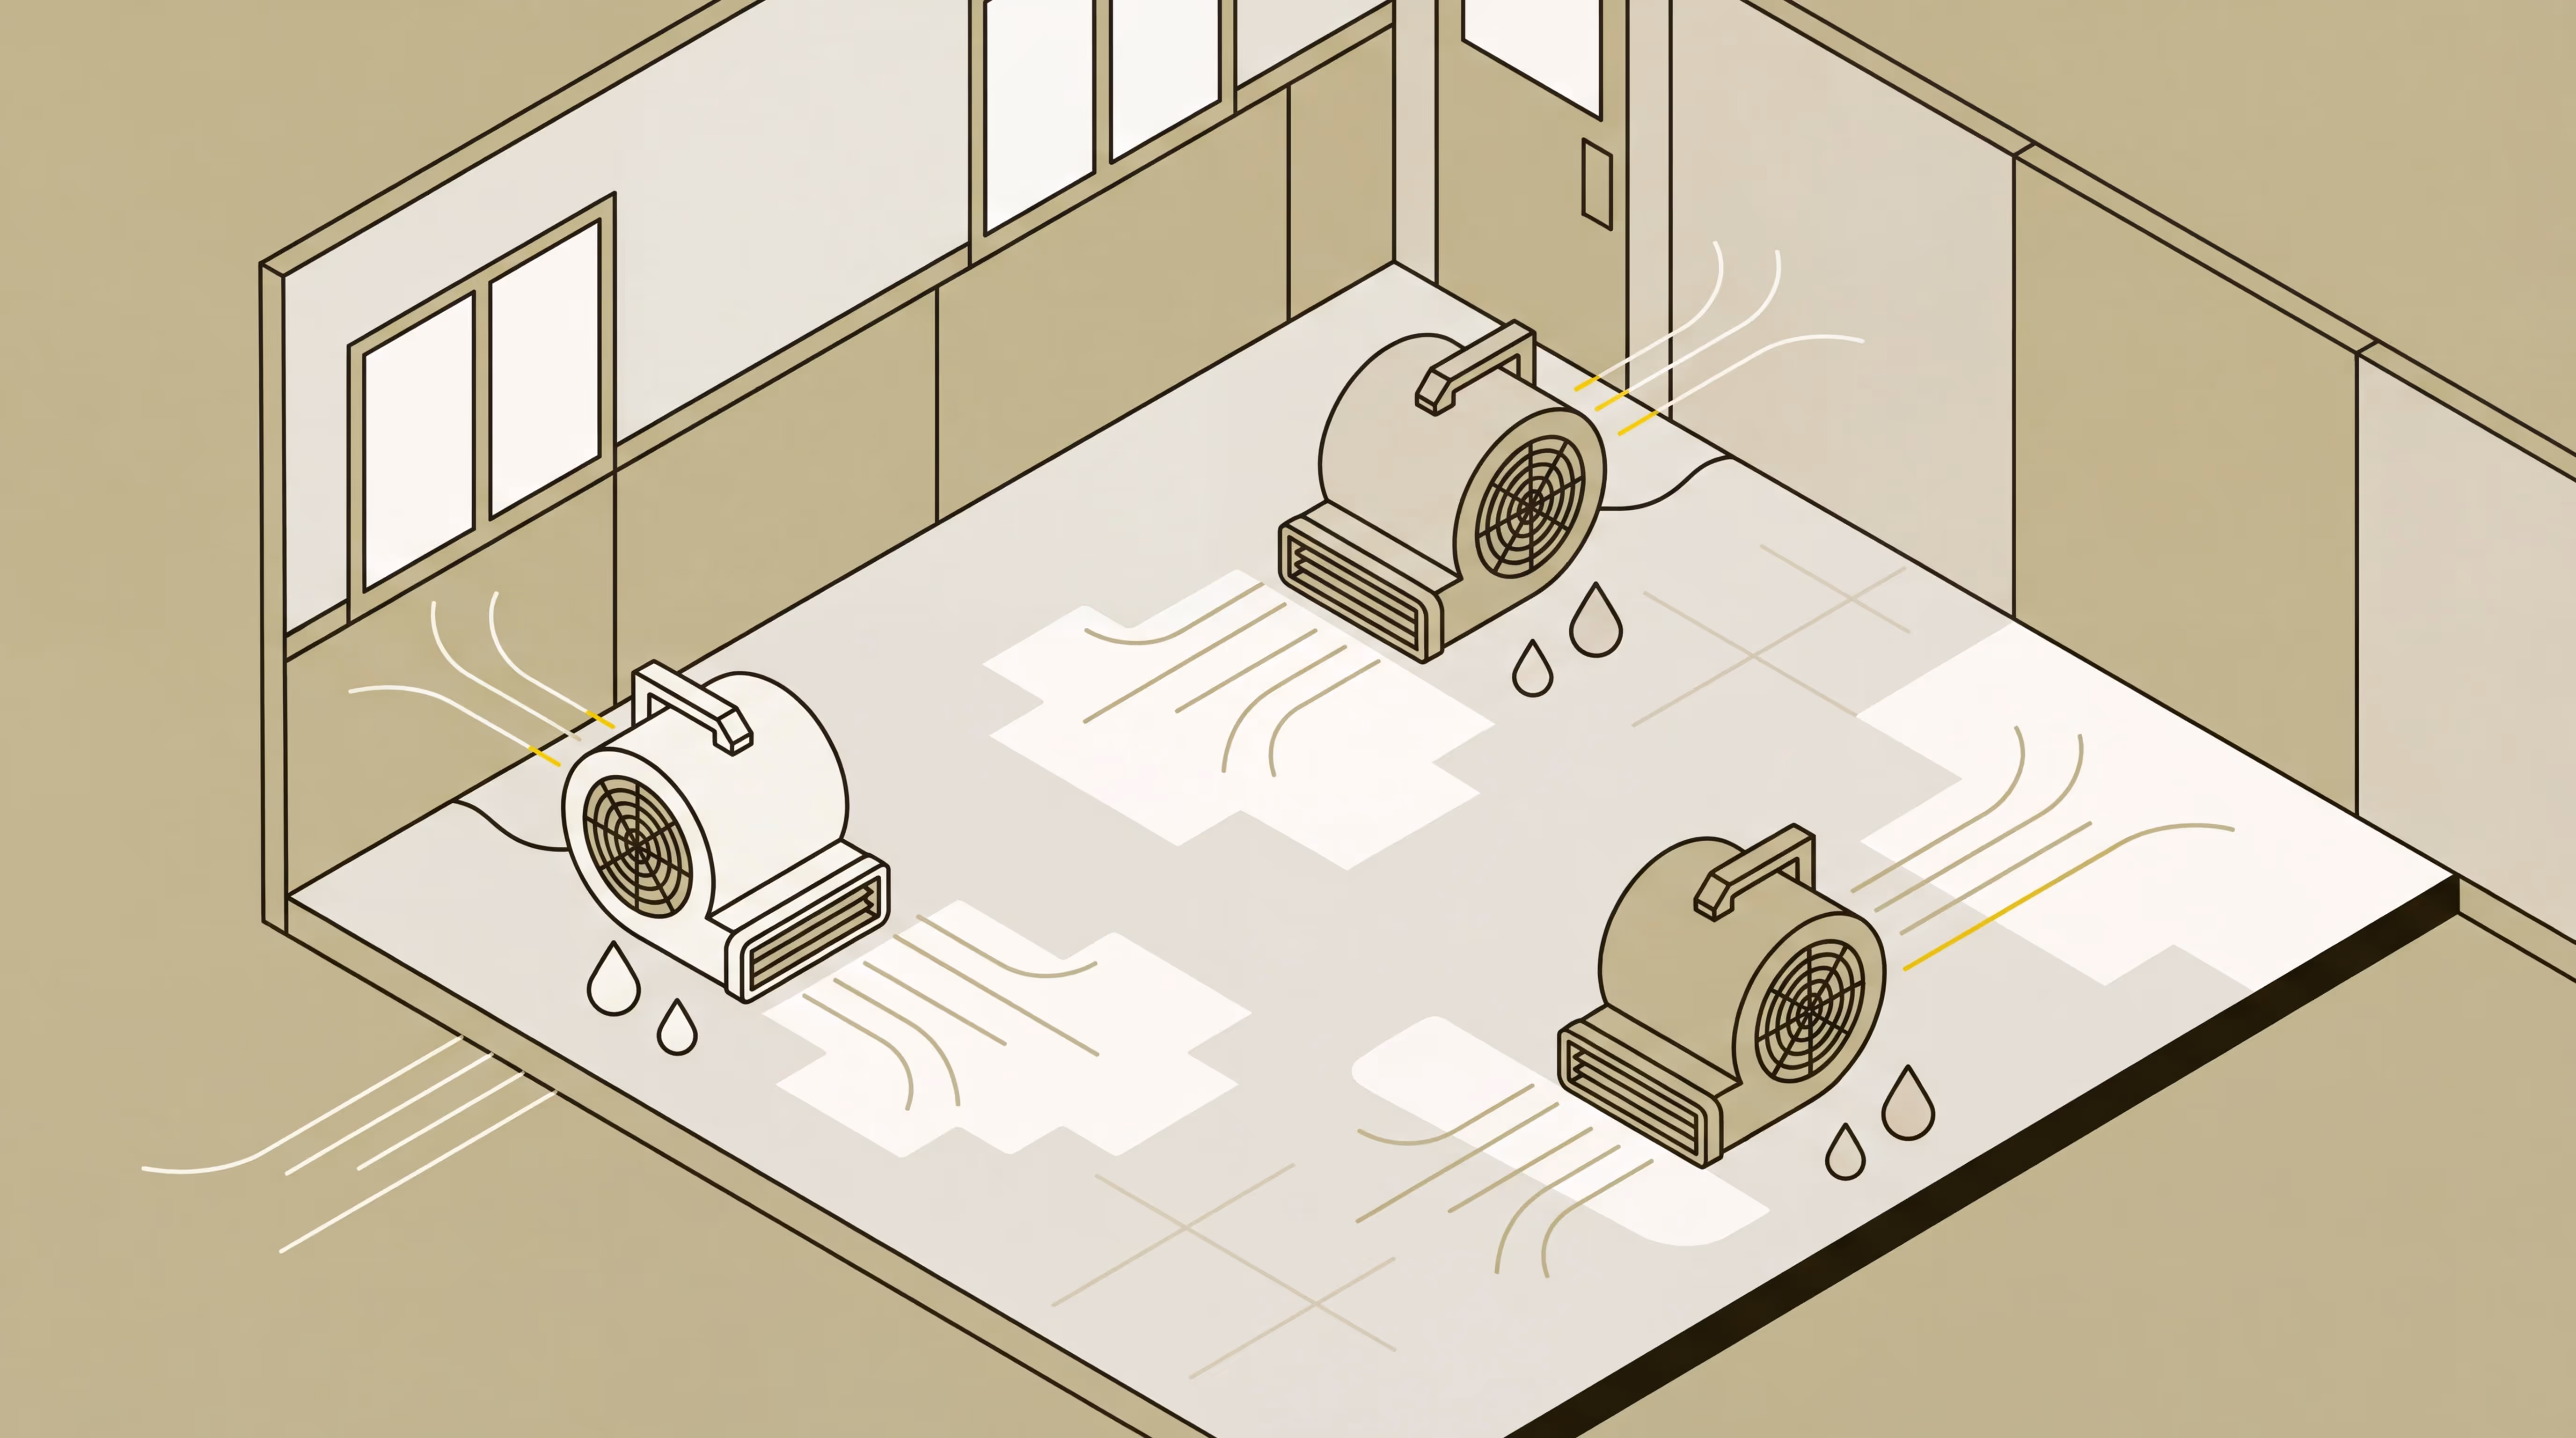
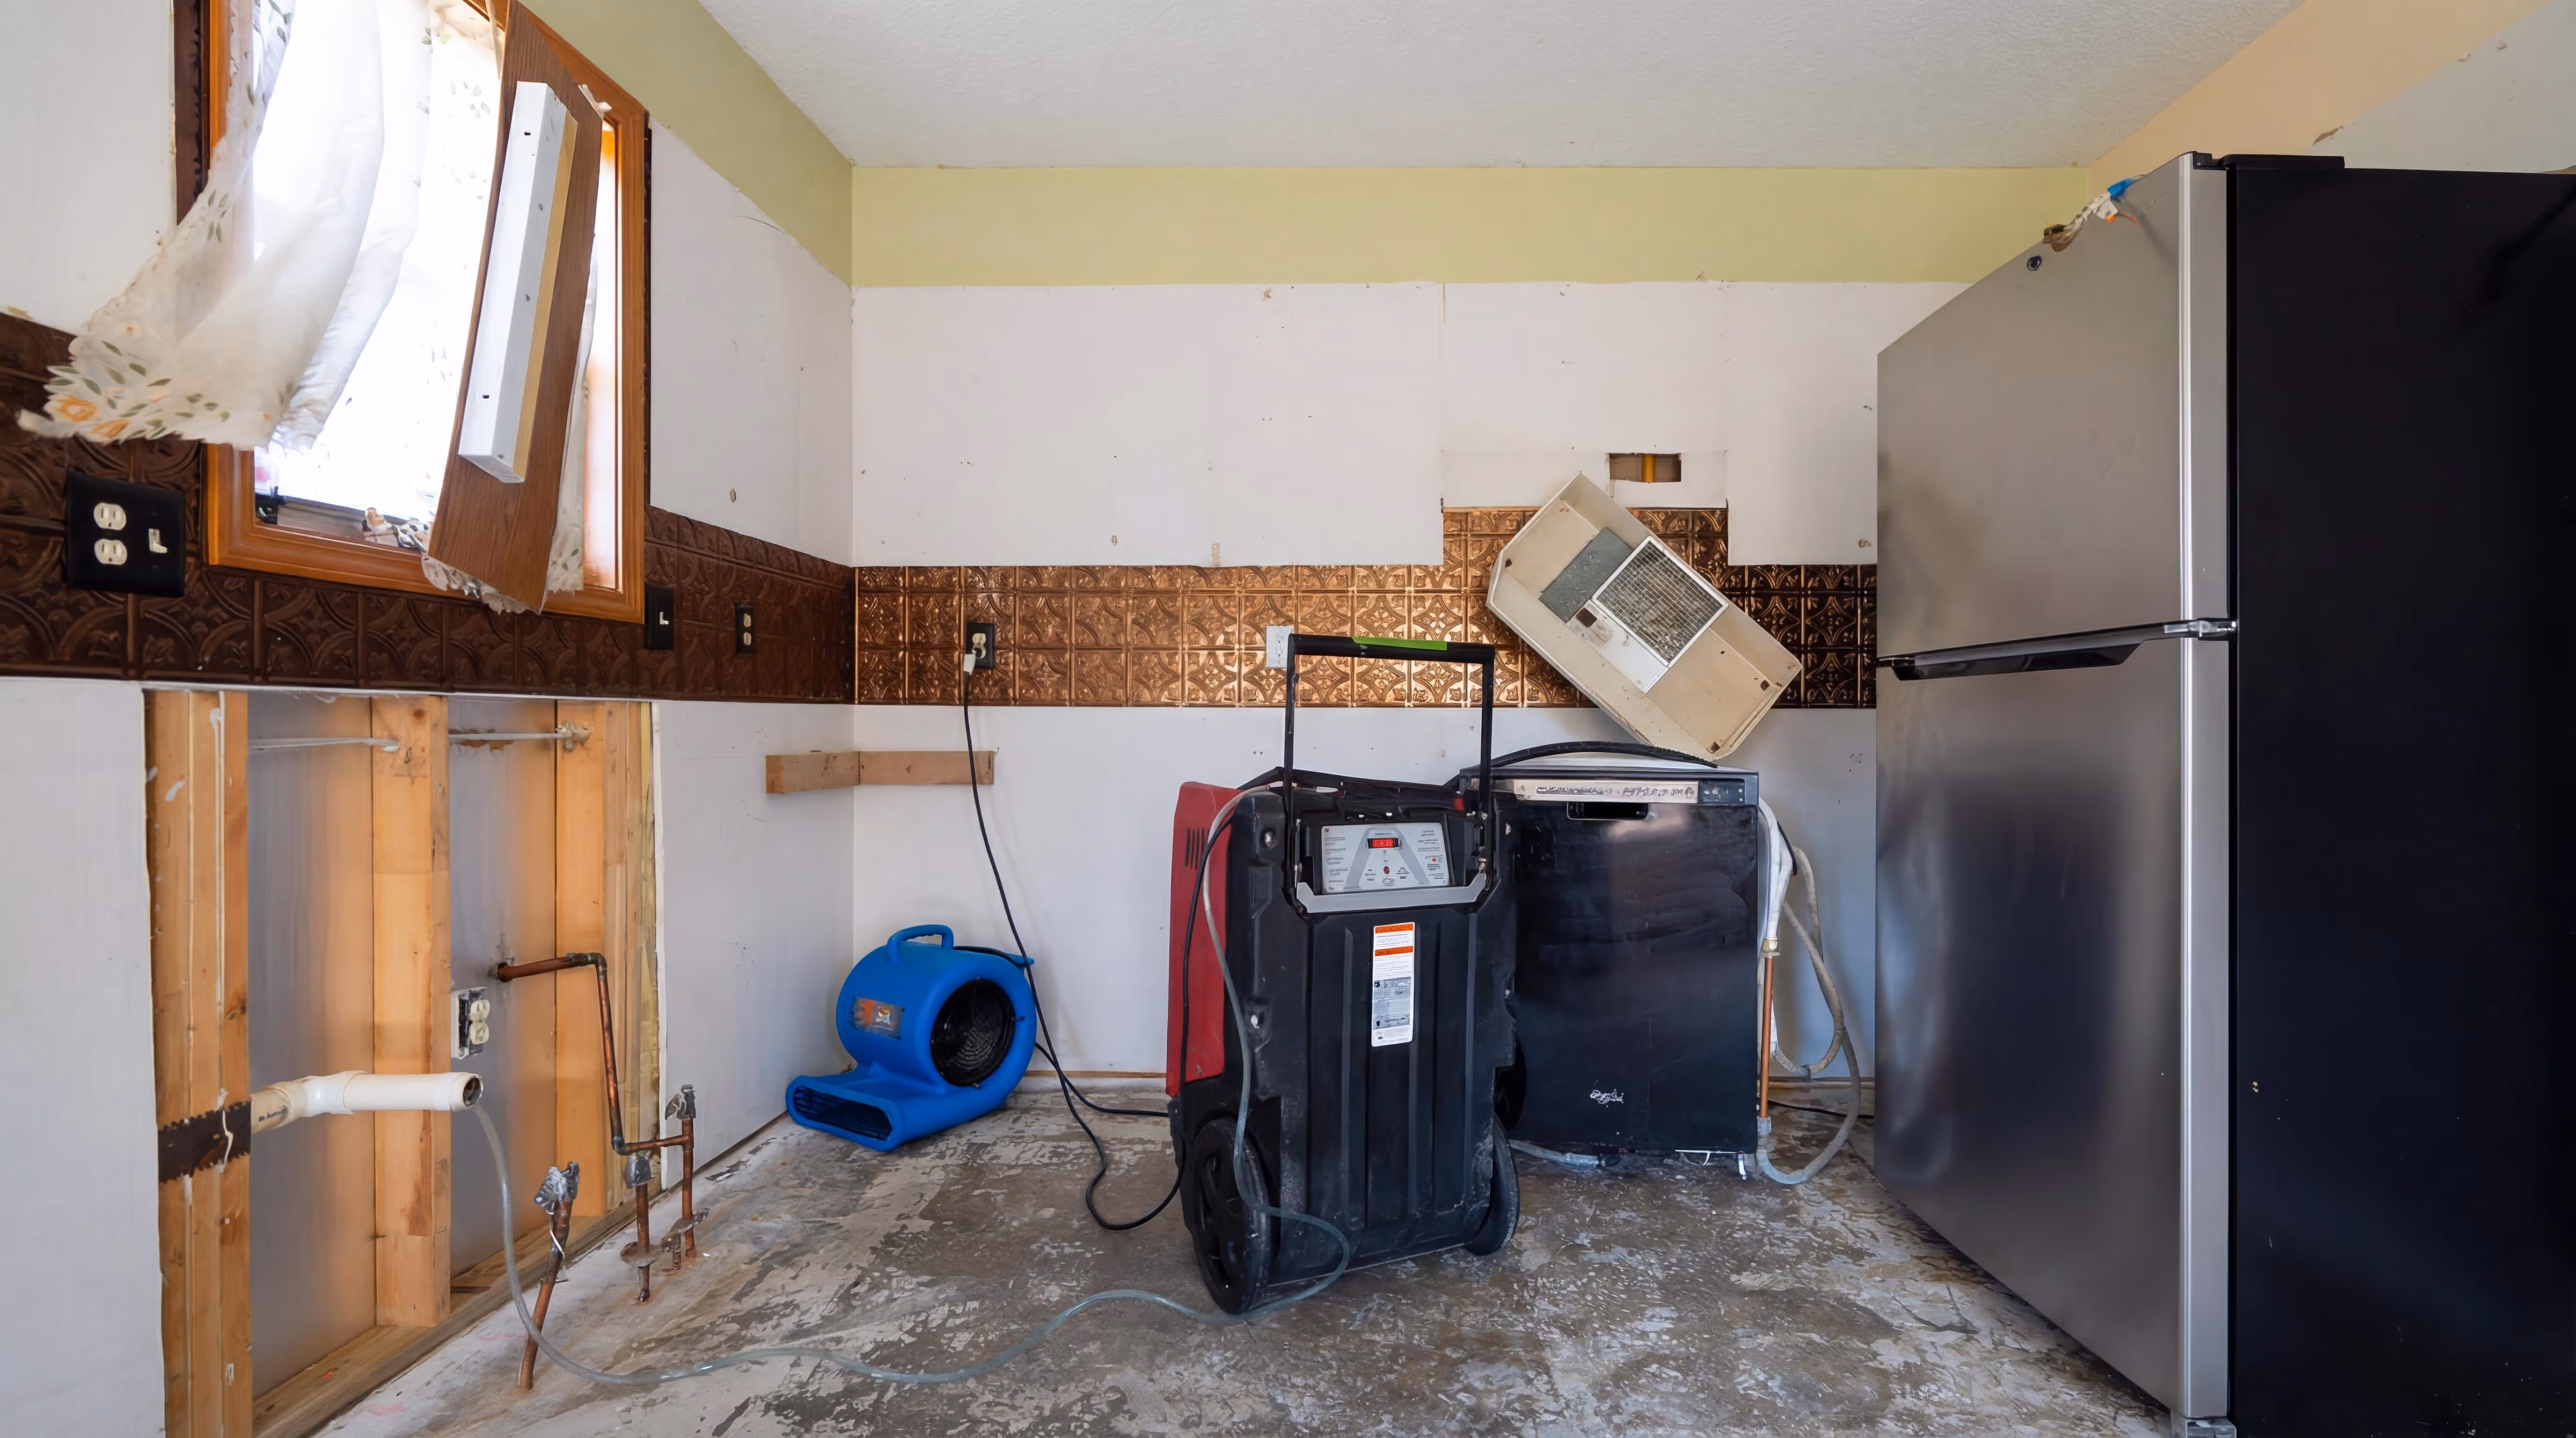
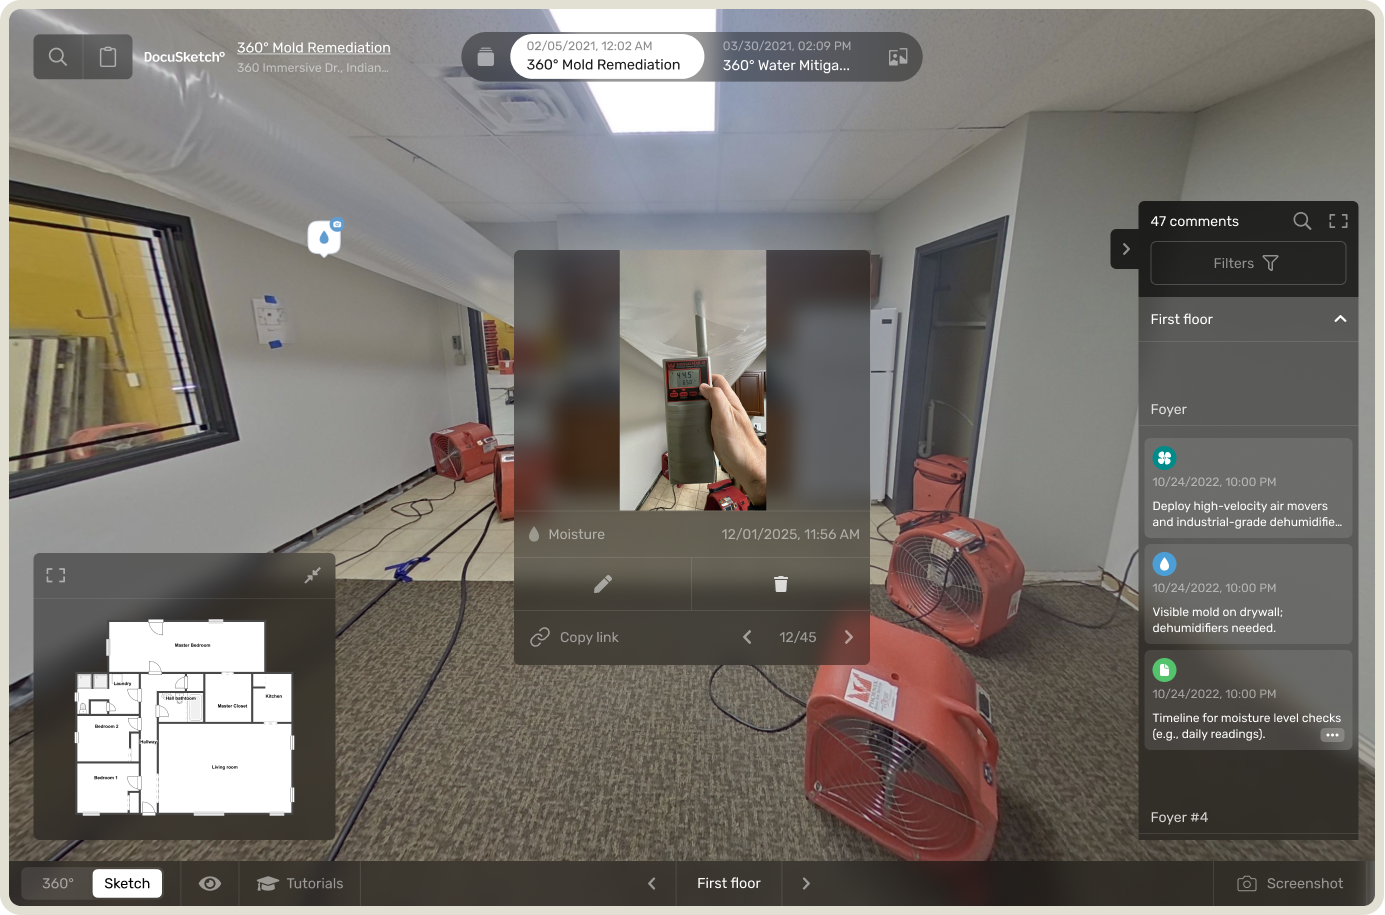
- Visual documentation: visual documentation of the damage taken with a 360˚ camera or LiDAR device to reference and justify the line items in the estimate.
- Accurate property measurements: room dimensions, ceiling heights, unique structural details.
- Material specifications: the quality and type of materials needed for repair or reconstruction.
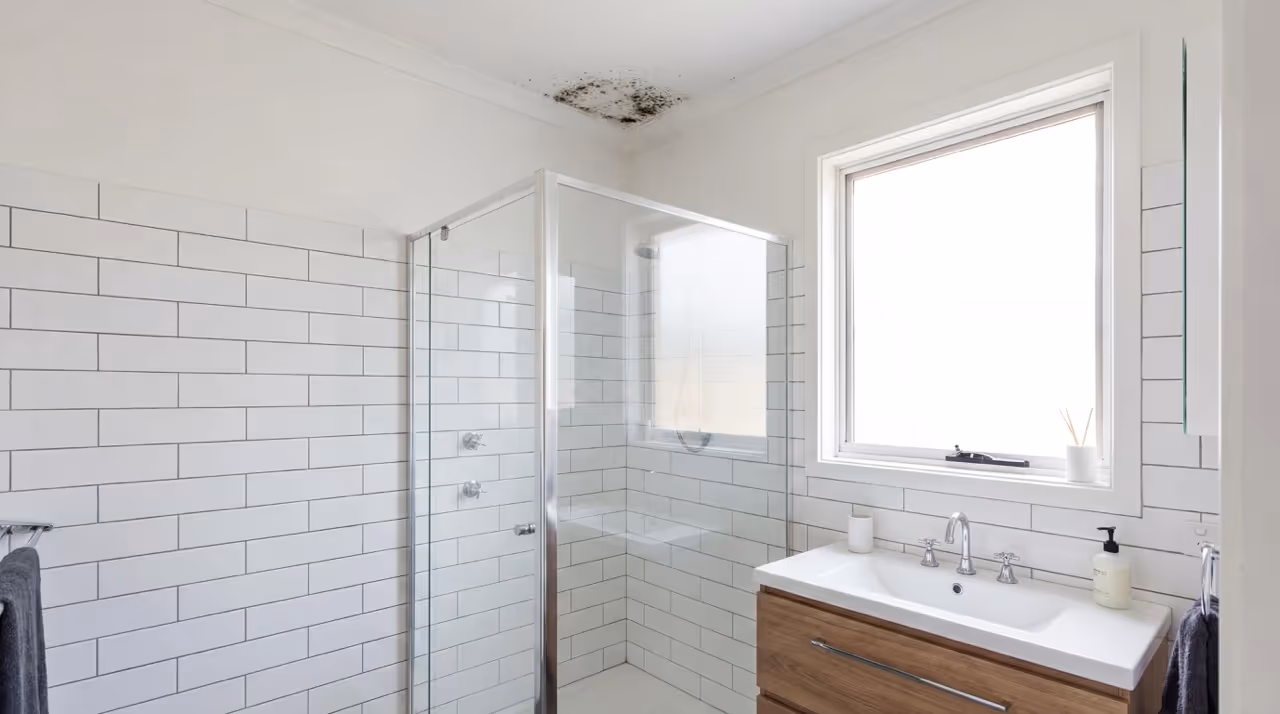
- Damage assessment notes: The type and extent of damage, including any secondary issues such as mold growth or structural weakening.
- Insurance policy information: coverage limits, deductibles, and specific requirements the insurance company may have.
Set up the project to build your estimate
Before you begin writing your Xactimate estimate, you’ll need to create and configure a new project. Here's how to do it in both Xactimate Desktop and Xactimate Online.
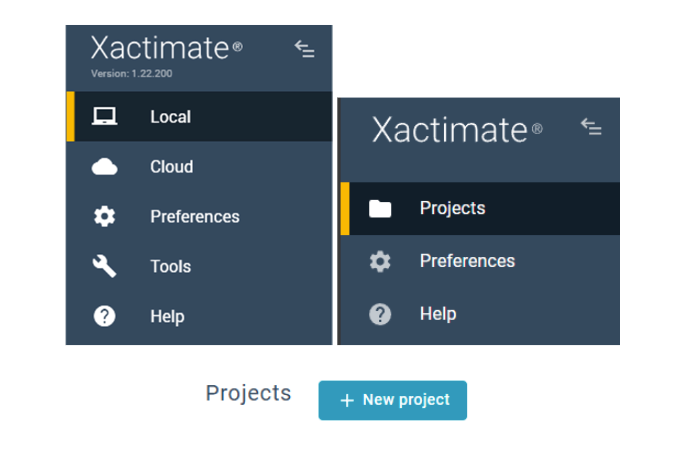
1. Open a new project in Xactimate
In Xactimate Desktop:
- Navigate to the left sidebar
- Click: Local → New Project (this adds a new project)
- Fill in the required project fields
- Choose or confirm the correct profile
- Click Create
You may also see a Cloud section showing synced projects not downloaded to your device. “Local” refers to projects saved directly on your computer.
In Xactimate Online:
- After logging in, you’ll see a list of recent projects
- To start a new one, click + New Project
2. Enter project information
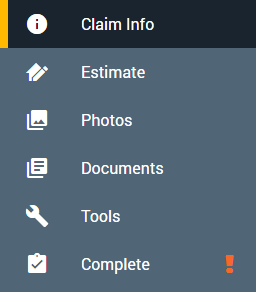
Once your project is created, you’ll need to complete the Claim Info section. This is where you enter the key details that form the foundation of your Xactimate estimate.
Start by filling in the basic information about the job, including:
- Client name and contact information
- Property address
- Claim number
- Loss type and date of loss
Next you’ll assign the correct price list to your estimate.
Xactware publishes regularly updated price lists across North America, reflecting current labor and material costs for each region. Choose the price list that matches your project’s location to ensure your estimate aligns with local market conditions.
You’ll also complete other relevant project details in this section, such as:
- Policy information
- Project parameters
- Any applicable notes or instructions from the carrier
Once the claim information and price list are set, you’re ready to move on to the next step: creating your sketch.
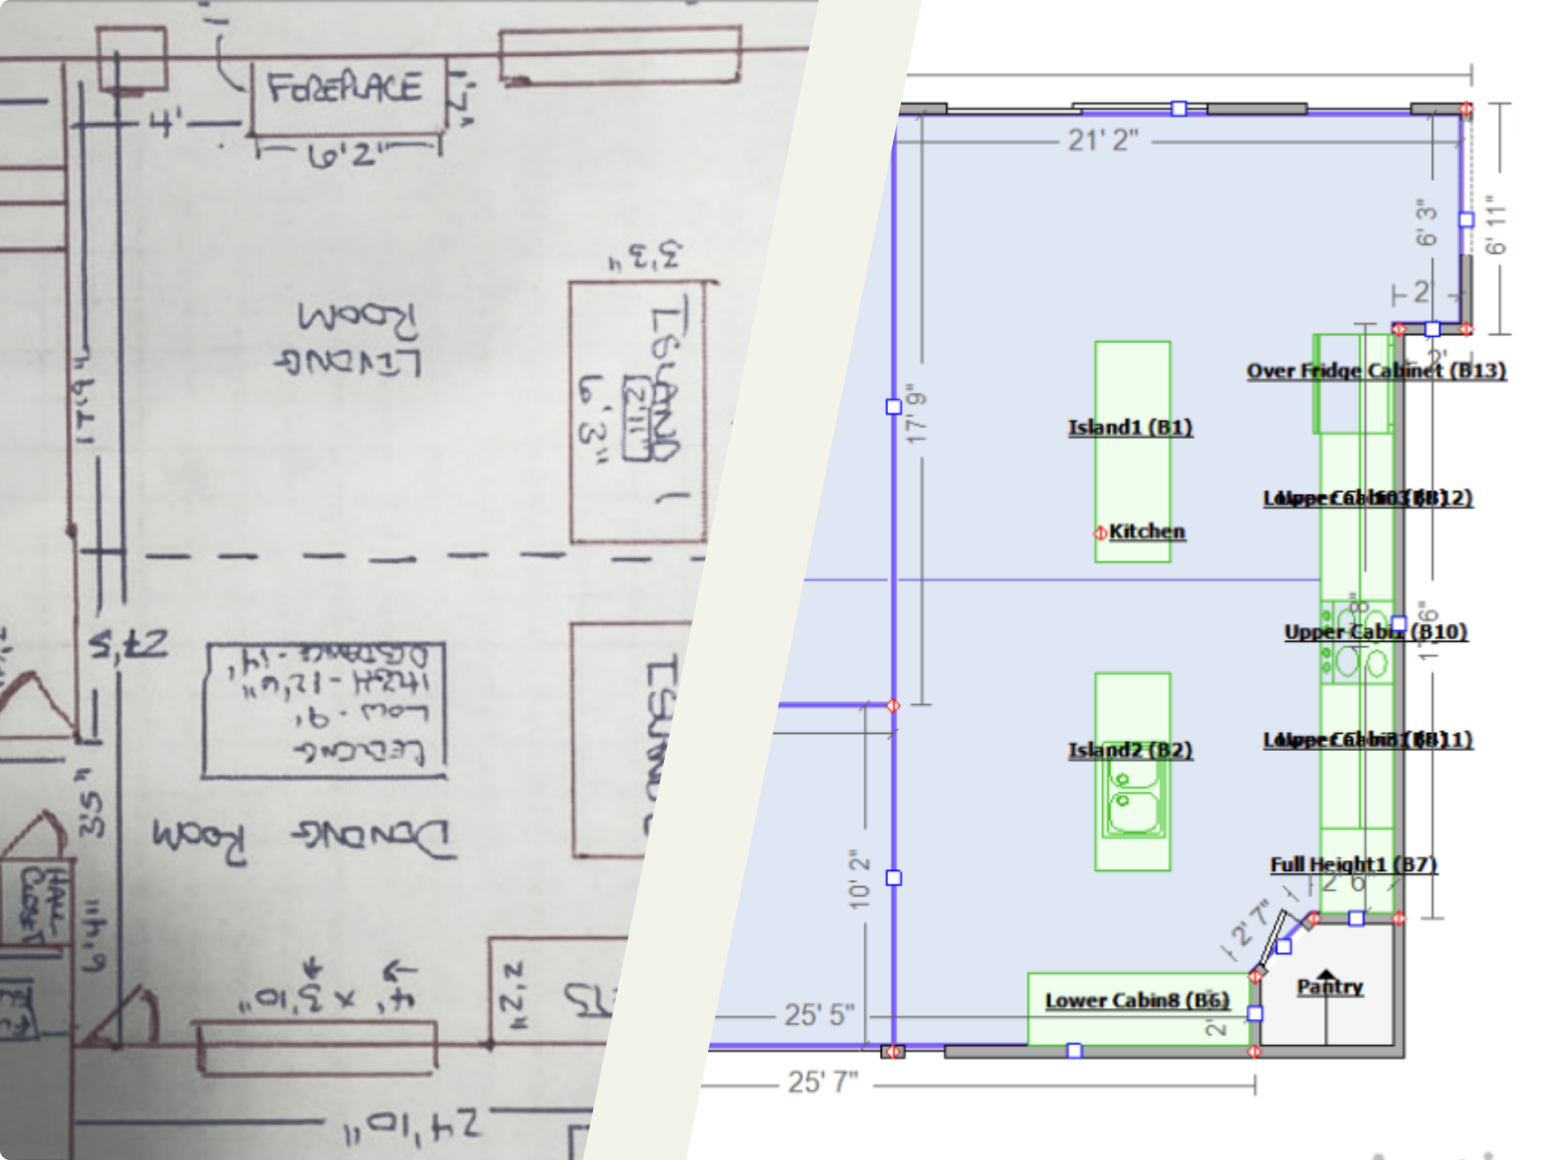
3. Create the sketch in the Sketch Tool
Once you’ve entered your project details, it’s time to create the floorplan using Xactimate’s Sketch Tool. Most insurance carriers require sketches to be accurate within two inches, so precision matters, even though these are not CAD-level drawings.
Sketches can range from basic (like a single room) to complex (multi-story properties with detailed rooflines). Either way, each room you sketch will become a space where you can later add estimate line items.
READ MORE: How to sketch a room in Xactimate
How to Create a Sketch Manually
If you're building the sketch yourself, follow these steps:
- Open the Sketch Tool
From the main toolbar, access the Sketch workspace. - Create a floor plan
Use the Room Tool to draw individual rooms or spaces. - Add structural elements
Insert doors, windows, and walls using toolbar options or keyboard shortcuts. - Add levels (if needed)
If your project spans multiple floors, use the Levels function to add and sketch each level accurately. - Save your work
Xactimate auto-saves periodically, but it’s a good habit to manually check for unsaved changes.
Resource: Xactimate Online Sketch Help Docs (if you get stuck)
Faster Option: Use DocuSketch to Skip Manual Drawing
Manually sketching takes time and leaves room for error. With DocuSketch, you can capture the entire space using a DS1 camera and generate a highly accurate sketch in under an hour.
- Document the property with a 360˚ walkthrough
- Submit your scan directly through DocuSketch
- Receive a ready-to-use Xactimate Sketch in less than 60 minutes
This approach is 7x faster than manual sketching and drastically improves both speed and accuracy.
Once your sketch is complete, you’ll move on to building the estimate itself—starting with line items tied to the rooms you’ve just created.
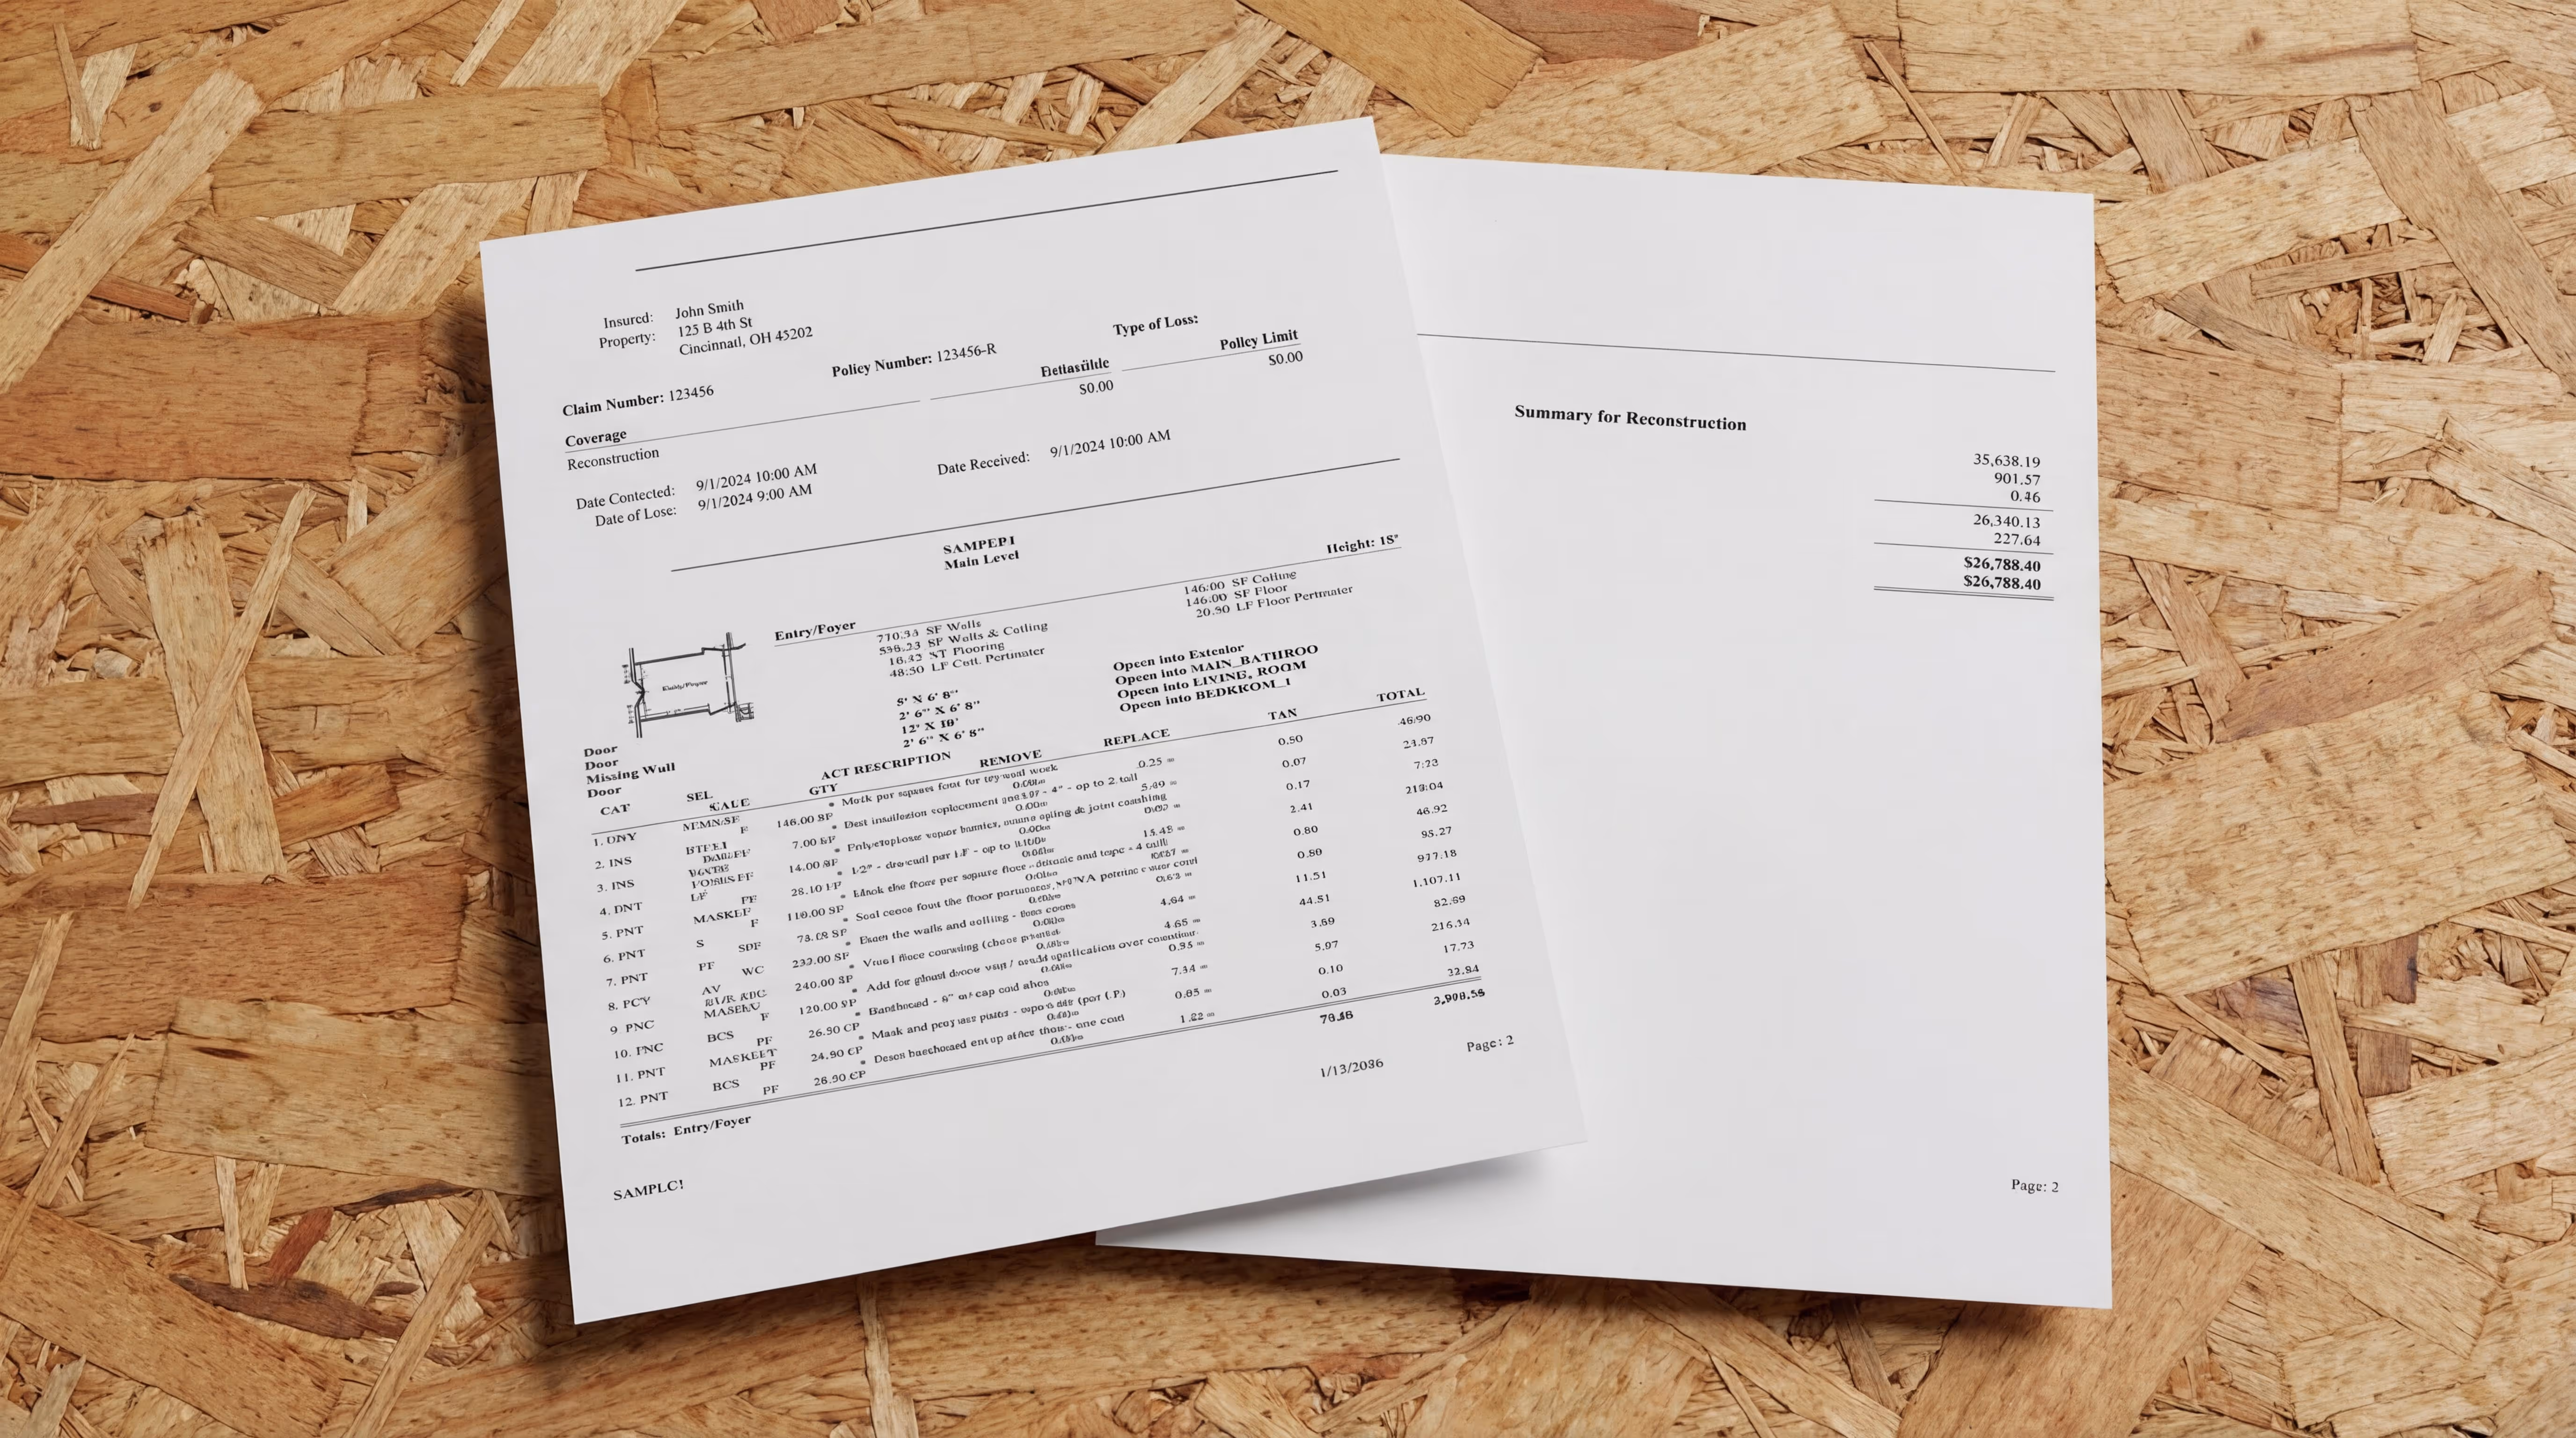
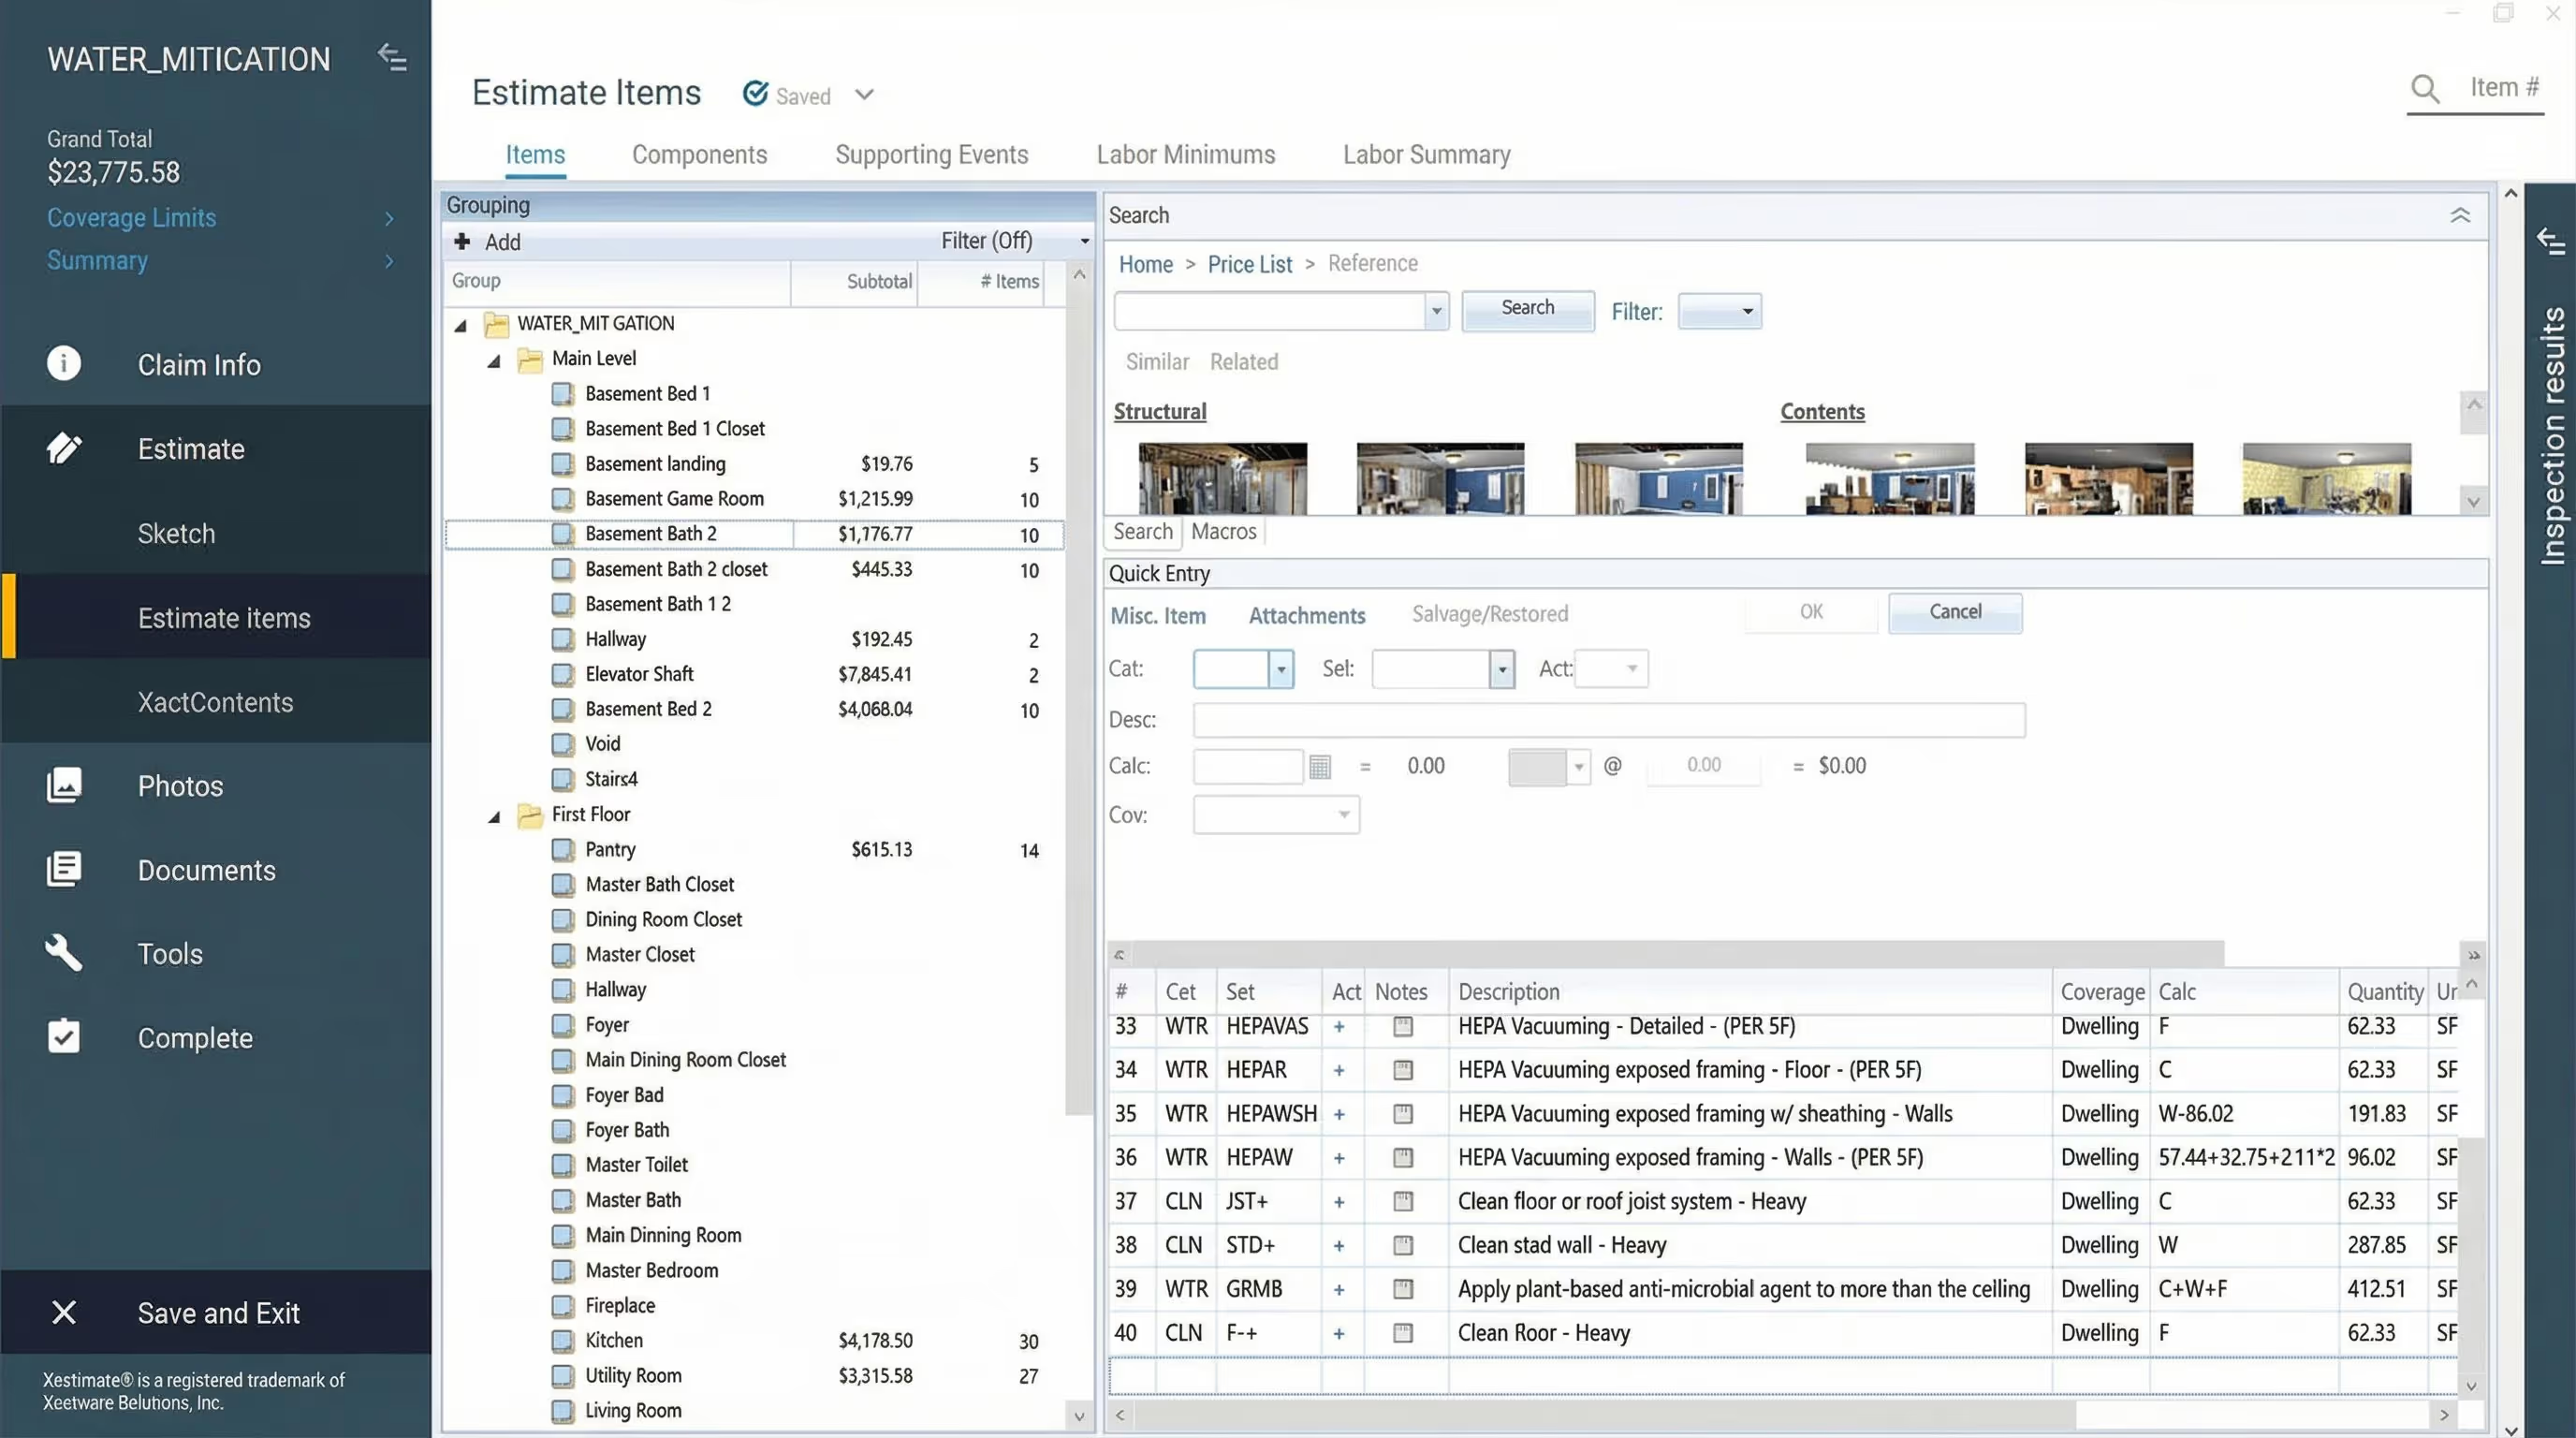
4. Add line items in Estimate Items
With your sketch complete, the next step in writing an Xactimate estimate is to add line items: the specific materials, services, and tasks needed to complete the job.
Each room or space you created in the Sketch Tool will now serve as a container for related line items.
Resource: How to Add a Line Item in Xactimate Online & Desktop
Where to Add Line Items
- Navigate to the Estimate tab
- Select Estimate Items
Here, you’ll see a breakdown of each room in your sketch. Click into a room to begin adding line items for that space.
How to Add Line Items Efficiently
While it’s possible to search for items using the main search bar, this can be time-consuming. “It will take you years,” says estimating expert Alena Wilson.
Instead, she recommends using Cat (Category) and Sel (Selector) codes, which speed up the process significantly.
Step-by-Step: Add a Line Item Using Cat/Sel Codes
- Click into the room you want to work on
- In the Estimate Items section:
- Select the Cat dropdown to choose the trade (e.g., WTR for water damage)
- Use the Sel box to refine the task or item
- Press Enter or Space to activate the selector
- Choose the correct line item from the results
- Confirm the item has been added to the correct room
- Repeat for each room and scope of work
Pro Tip: Use Macros to Save Time
Macros are pre-built templates of common line items grouped by task or room type. If you regularly write similar estimates (e.g., for water mitigation or roof repairs), macros can help you speed things up even more.
Once you've added all relevant line items for each room, you're ready to review the estimate for accuracy and completeness. This is covered in the next step.

Let DocuSketch write the estimate for you
Get a complete floor plan and estimate for mitigation and rebuild — often within one business day — all through DocuSketch. This helps your claim cycle time go from many days to hours.
Each estimate ordered through DocuSketch goes through askAime™’s estimate review process, which assists people in meeting carrier expectations and ensures that no line items are missed.
5. Review the estimate
Once you’ve added all your line items, it’s time to review the estimate for accuracy, completeness, and alignment with carrier expectations. This step is critical. Overlooking even a small item could lead to rejections, delays, or lost revenue.
In addition to reviewing it yourself, it’s best practice to run the estimate through at least one additional review method.
3 Ways to Review Your Estimate
1. Peer Review
Ask a colleague or experienced estimator to review your work. Even seasoned professionals benefit from a second set of eyes—especially on complex claims.
Swapping estimates with a teammate can help both of you catch missed items and sharpen your skills.
2. Third-Party Review
Use a professional estimating service like DocuSketch Estimating. Our experienced in-house team will verify that your estimate:
- Includes all necessary line items
- Meets industry standards
- Follows insurer-specific guidelines
This reduces back-and-forth with carriers and speeds up approvals.
3. Automated Review with askAime™
Use askAime™, an AI-powered review tool that:
- Flags missing or over-scoped items
- Compares your estimate against best practices
- Helps you reduce claim cycle time by catching common issues before submission
Recommended Reading: How to Read an Xactimate Estimate: a helpful guide for reviewing and understanding estimates from both a contractor and homeowner perspective.
By combining manual checks with smart review tools, you’ll catch errors early, avoid underpayments, and deliver cleaner, faster estimates.
Once your review is complete, you’re ready for the final step: submitting and finalizing the estimate.
6. Refine and improve the estimate before finalizing
After you've reviewed your estimate for accuracy, it's time to review it for quality.
You're going beyond checking for errors here; you’re ensuring that your estimate is comprehensive, competitive, and backed by up-to-date pricing and proper documentation.
Why This Step Matters
Even experienced estimators can overlook small but critical items. A missed code, an outdated price, or incomplete scope could leave hundreds of dollars on the table or trigger a delay in claim approval.
Use Automation & Smart Review Tools
We’re mentioning them again because of how good they are! Tools like askAime™ analyze your estimate using industry rules and carrier requirements. It can identify:
- Missing or duplicate line items
- Items that are over- or under-scoped
- Compliance gaps with insurance guidelines
This automated process helps speed up approvals and reduces friction with adjusters.
Common Places You Might Get Stuck
If you're new to writing Xactimate estimates, it's easy to miss important details – especially if you’re not yet familiar with how materials or assemblies work together.
A classic example? You add a vanity and a sink to the estimate and think you’re done. But in reality, several supporting components may be required to complete that installation.
These small, overlooked details can easily cost you hundreds of dollars per estimate.
Examples of Commonly Missed Items:
- Scribe or filler boards around cabinets
- Drawer pulls or hardware finishes
- Sealants or adhesives used in the installation
- Backing materials like underlayment or bracing
- Waste factors for materials like flooring or drywall
How to Avoid These Gaps:
- Use checklists or templates for each room type or project category
- Review past estimates for similar jobs to see what you might be missing
- Consult installers or project managers who understand the full scope
- Mentally walk through the job as if you were on-site, from start to finish
- Use estimating software features that suggest related or bundled items
By proactively checking for these gaps, you’ll write more complete, accurate estimates, and avoid costly revisions or denials later in the claims process.
7. Finalize the estimate
Once you've reviewed and refined your estimate, the final step is to generate the report and submit it to the insurance adjuster or client.
This step may seem simple, but it’s where all your accuracy and attention to detail pay off. You’re helping to ensure a smooth review process and faster claim resolution.
Get started with your estimate
With practice, writing Xactimate estimates will become quick and easy – especially if you start to memorize your category selector codes. And if you’re looking to speed up the process even further, check out DocuSketch and askAime™, which will help you create precise estimates in a fraction of the time.
Xactimate is the most widely used estimating software in North America for insurance and restoration. If you’re in the restoration business or you’re just getting started, chances are that you’re getting ready to create an estimate within the software.
This is an introductory guide for writing an estimate in Xactimate, whether you’re new to the industry or want a refresher. Xactimate is the most widely used estimating software in North America for insurance and restoration, and it can feel intimidating at first. We’ll familiarize you with the estimate creation process and equip you with everything you’ll need to get started.
What you’ll need before you start writing the estimate
There are a few things you’ll need to have on hand when building the estimate. These include:
- Detailed scope of work: the areas affected by the damage and an understanding of the required repairs or replacements.
- Visual documentation: visual documentation of the damage taken with a 360˚ camera or LiDAR device to reference and justify the line items in the estimate.
- Accurate property measurements: room dimensions, ceiling heights, unique structural details.
- Material specifications: the quality and type of materials needed for repair or reconstruction.
- Damage assessment notes: The type and extent of damage, including any secondary issues such as mold growth or structural weakening.
- Insurance policy information: coverage limits, deductibles, and specific requirements the insurance company may have.
Set up the project to build your estimate
Before you begin writing your Xactimate estimate, you’ll need to create and configure a new project. Here's how to do it in both Xactimate Desktop and Xactimate Online.
1. Open a new project in Xactimate
In Xactimate Desktop:
- Navigate to the left sidebar
- Click: Local → New Project (this adds a new project)
- Fill in the required project fields
- Choose or confirm the correct profile
- Click Create
You may also see a Cloud section showing synced projects not downloaded to your device. “Local” refers to projects saved directly on your computer.
In Xactimate Online:
- After logging in, you’ll see a list of recent projects
- To start a new one, click + New Project
2. Enter project information
Once your project is created, you’ll need to complete the Claim Info section. This is where you enter the key details that form the foundation of your Xactimate estimate.
Start by filling in the basic information about the job, including:
- Client name and contact information
- Property address
- Claim number
- Loss type and date of loss
Next you’ll assign the correct price list to your estimate.
Xactware publishes regularly updated price lists across North America, reflecting current labor and material costs for each region. Choose the price list that matches your project’s location to ensure your estimate aligns with local market conditions.
You’ll also complete other relevant project details in this section, such as:
- Policy information
- Project parameters
- Any applicable notes or instructions from the carrier
Once the claim information and price list are set, you’re ready to move on to the next step: creating your sketch.
3. Create the sketch in the Sketch Tool
Once you’ve entered your project details, it’s time to create the floorplan using Xactimate’s Sketch Tool. Most insurance carriers require sketches to be accurate within two inches, so precision matters, even though these are not CAD-level drawings.
Sketches can range from basic (like a single room) to complex (multi-story properties with detailed rooflines). Either way, each room you sketch will become a space where you can later add estimate line items.
READ MORE: How to sketch a room in Xactimate
How to Create a Sketch Manually
If you're building the sketch yourself, follow these steps:
- Open the Sketch Tool
From the main toolbar, access the Sketch workspace. - Create a floor plan
Use the Room Tool to draw individual rooms or spaces. - Add structural elements
Insert doors, windows, and walls using toolbar options or keyboard shortcuts. - Add levels (if needed)
If your project spans multiple floors, use the Levels function to add and sketch each level accurately. - Save your work
Xactimate auto-saves periodically, but it’s a good habit to manually check for unsaved changes.
Resource: Xactimate Online Sketch Help Docs (if you get stuck)
Faster Option: Use DocuSketch to Skip Manual Drawing
Manually sketching takes time and leaves room for error. With DocuSketch, you can capture the entire space using a DS1 camera and generate a highly accurate sketch in under an hour.
- Document the property with a 360˚ walkthrough
- Submit your scan directly through DocuSketch
- Receive a ready-to-use Xactimate Sketch in less than 60 minutes
This approach is 7x faster than manual sketching and drastically improves both speed and accuracy.
Once your sketch is complete, you’ll move on to building the estimate itself—starting with line items tied to the rooms you’ve just created.
4. Add line items in Estimate Items
With your sketch complete, the next step in writing an Xactimate estimate is to add line items: the specific materials, services, and tasks needed to complete the job.
Each room or space you created in the Sketch Tool will now serve as a container for related line items.
Resource: How to Add a Line Item in Xactimate Online & Desktop
Where to Add Line Items
- Navigate to the Estimate tab
- Select Estimate Items
Here, you’ll see a breakdown of each room in your sketch. Click into a room to begin adding line items for that space.
How to Add Line Items Efficiently
While it’s possible to search for items using the main search bar, this can be time-consuming. “It will take you years,” says estimating expert Alena Wilson.
Instead, she recommends using Cat (Category) and Sel (Selector) codes, which speed up the process significantly.
Step-by-Step: Add a Line Item Using Cat/Sel Codes
- Click into the room you want to work on
- In the Estimate Items section:
- Select the Cat dropdown to choose the trade (e.g., WTR for water damage)
- Use the Sel box to refine the task or item
- Press Enter or Space to activate the selector
- Choose the correct line item from the results
- Confirm the item has been added to the correct room
- Repeat for each room and scope of work
Pro Tip: Use Macros to Save Time
Macros are pre-built templates of common line items grouped by task or room type. If you regularly write similar estimates (e.g., for water mitigation or roof repairs), macros can help you speed things up even more.
Once you've added all relevant line items for each room, you're ready to review the estimate for accuracy and completeness. This is covered in the next step.
Let DocuSketch write the estimate for you
Get a complete floor plan and estimate for mitigation and rebuild — often within one business day — all through DocuSketch. This helps your claim cycle time go from many days to hours.
Each estimate ordered through DocuSketch goes through askAime™’s estimate review process, which assists people in meeting carrier expectations and ensures that no line items are missed.
5. Review the estimate
Once you’ve added all your line items, it’s time to review the estimate for accuracy, completeness, and alignment with carrier expectations. This step is critical. Overlooking even a small item could lead to rejections, delays, or lost revenue.
In addition to reviewing it yourself, it’s best practice to run the estimate through at least one additional review method.
3 Ways to Review Your Estimate
1. Peer Review
Ask a colleague or experienced estimator to review your work. Even seasoned professionals benefit from a second set of eyes—especially on complex claims.
Swapping estimates with a teammate can help both of you catch missed items and sharpen your skills.
2. Third-Party Review
Use a professional estimating service like DocuSketch Estimating. Our experienced in-house team will verify that your estimate:
- Includes all necessary line items
- Meets industry standards
- Follows insurer-specific guidelines
This reduces back-and-forth with carriers and speeds up approvals.
3. Automated Review with askAime™
Use askAime™, an AI-powered review tool that:
- Flags missing or over-scoped items
- Compares your estimate against best practices
- Helps you reduce claim cycle time by catching common issues before submission
Recommended Reading: How to Read an Xactimate Estimate: a helpful guide for reviewing and understanding estimates from both a contractor and homeowner perspective.
By combining manual checks with smart review tools, you’ll catch errors early, avoid underpayments, and deliver cleaner, faster estimates.
Once your review is complete, you’re ready for the final step: submitting and finalizing the estimate.
6. Refine and improve the estimate before finalizing
After you've reviewed your estimate for accuracy, it's time to review it for quality.
You're going beyond checking for errors here; you’re ensuring that your estimate is comprehensive, competitive, and backed by up-to-date pricing and proper documentation.
Why This Step Matters
Even experienced estimators can overlook small but critical items. A missed code, an outdated price, or incomplete scope could leave hundreds of dollars on the table or trigger a delay in claim approval.
Use Automation & Smart Review Tools
We’re mentioning them again because of how good they are! Tools like askAime™ analyze your estimate using industry rules and carrier requirements. It can identify:
- Missing or duplicate line items
- Items that are over- or under-scoped
- Compliance gaps with insurance guidelines
This automated process helps speed up approvals and reduces friction with adjusters.
Common Places You Might Get Stuck
If you're new to writing Xactimate estimates, it's easy to miss important details – especially if you’re not yet familiar with how materials or assemblies work together.
A classic example? You add a vanity and a sink to the estimate and think you’re done. But in reality, several supporting components may be required to complete that installation.
These small, overlooked details can easily cost you hundreds of dollars per estimate.
Examples of Commonly Missed Items:
- Scribe or filler boards around cabinets
- Drawer pulls or hardware finishes
- Sealants or adhesives used in the installation
- Backing materials like underlayment or bracing
- Waste factors for materials like flooring or drywall
How to Avoid These Gaps:
- Use checklists or templates for each room type or project category
- Review past estimates for similar jobs to see what you might be missing
- Consult installers or project managers who understand the full scope
- Mentally walk through the job as if you were on-site, from start to finish
- Use estimating software features that suggest related or bundled items
By proactively checking for these gaps, you’ll write more complete, accurate estimates, and avoid costly revisions or denials later in the claims process.
7. Finalize the estimate
Once you've reviewed and refined your estimate, the final step is to generate the report and submit it to the insurance adjuster or client.
This step may seem simple, but it’s where all your accuracy and attention to detail pay off. You’re helping to ensure a smooth review process and faster claim resolution.
Get started with your estimate
With practice, writing Xactimate estimates will become quick and easy – especially if you start to memorize your category selector codes. And if you’re looking to speed up the process even further, check out DocuSketch and askAime™, which will help you create precise estimates in a fraction of the time.

Related Articles


%20(1).jpg)